Webflow SEO Checklist by Higglo Digital
This 10 step checklist covers the essential steps that you need to take to get the most benefit from Webflow SEO!
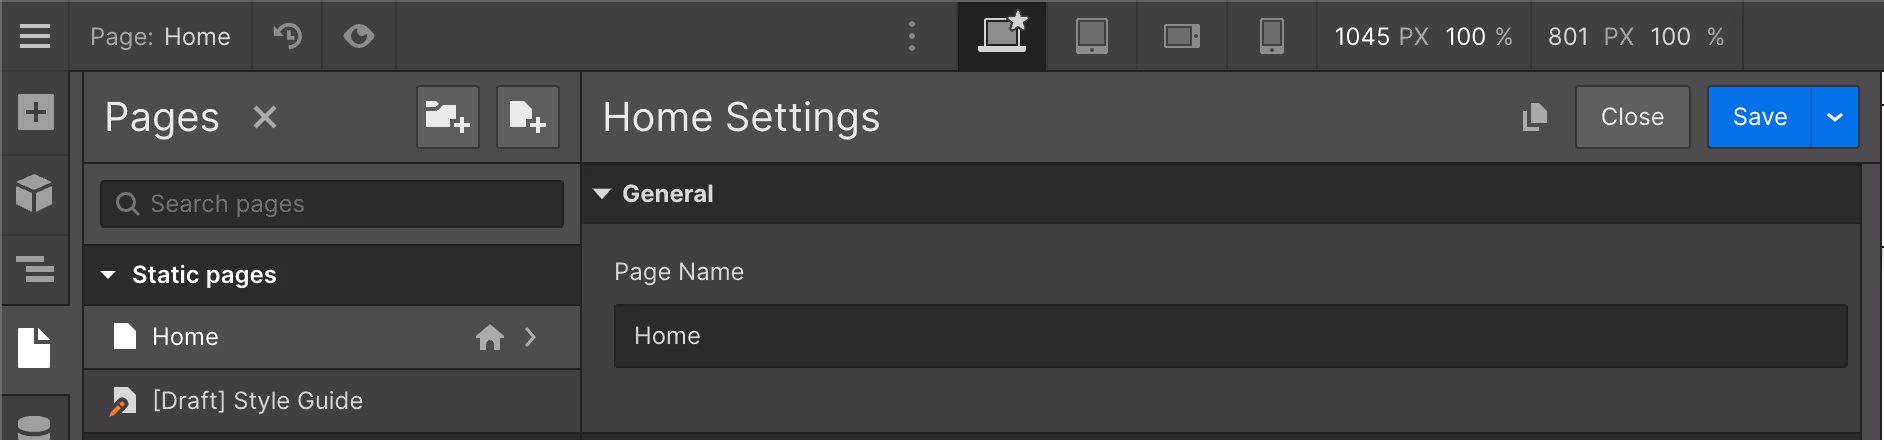
— Head to your page settings.
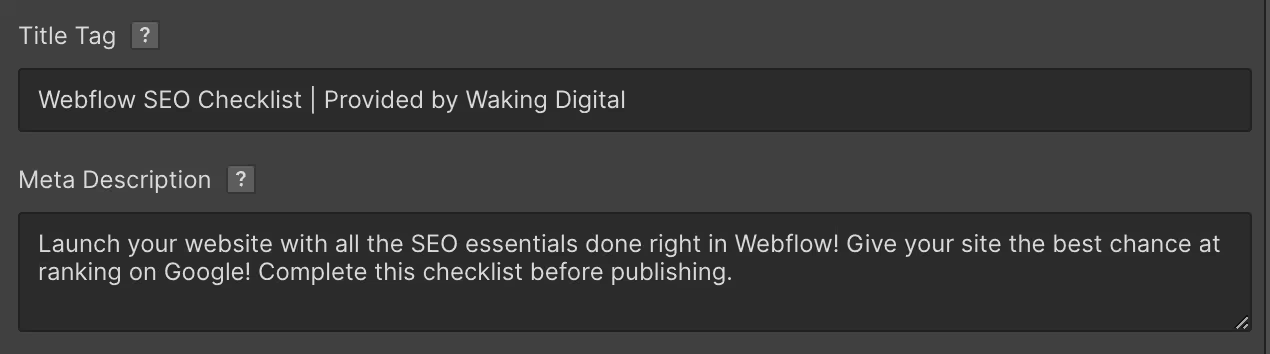
— Scroll down to the area shown in this image.
— Place your Title Tag here.(60 characters or less.)
— Place your Meta Description here. (160 characters or less.)
— Make sure to complete this for each page.
— Feel free to jump to Step 11 while you're in the page settings.


— Go to Project Settings. (Top left of Designer.)
— Click on the Publishing tab.
— Set your Default Domain. We strongly recommend the "www." version.
-Not setting a Default domain could cause duplicate content. This could hurt rankings or even de-index the pages from Google.
-Most DNS managers (I.E. Google Domains) do not support the "non www." version. Also know as the "root domain". Yours may, check with your DNS manager.
-Want to host on the root domain/non www. version with Google Domains? We have a solution! Email Us!


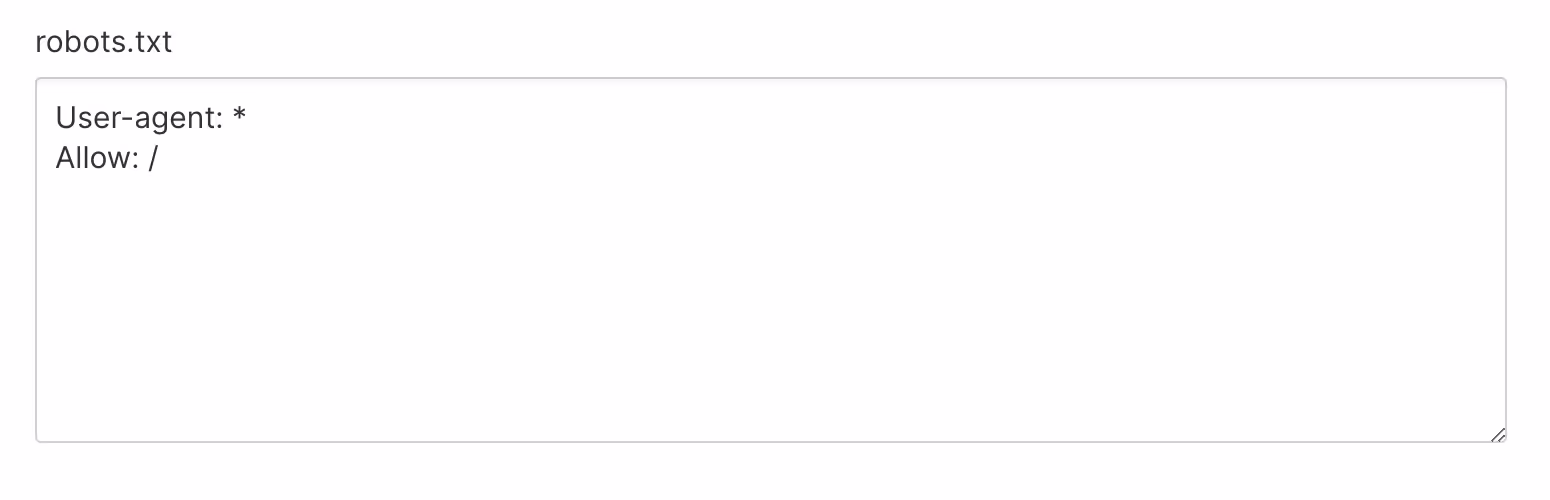
— Setup your robots.txt
— Click this button ↓ and paste in your robots.txt
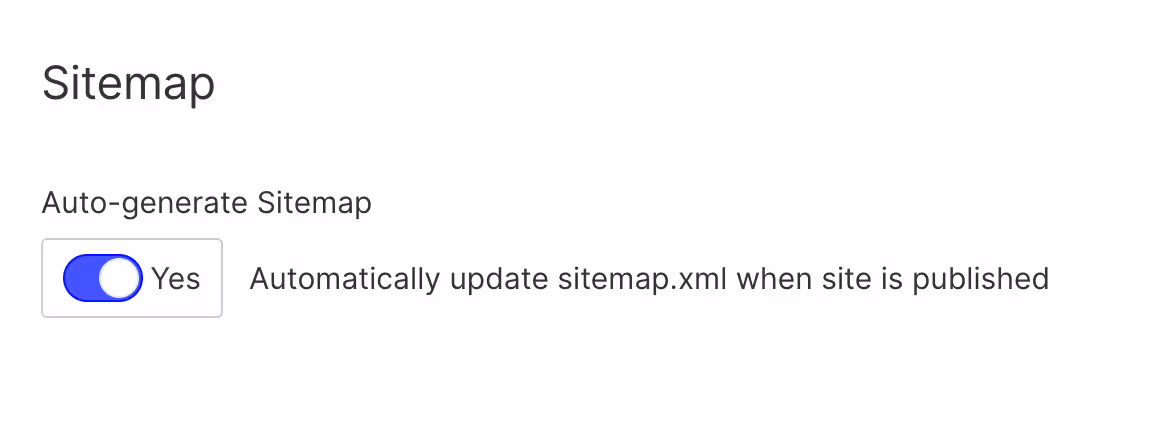
— Enable Auto-generate Sitemap.
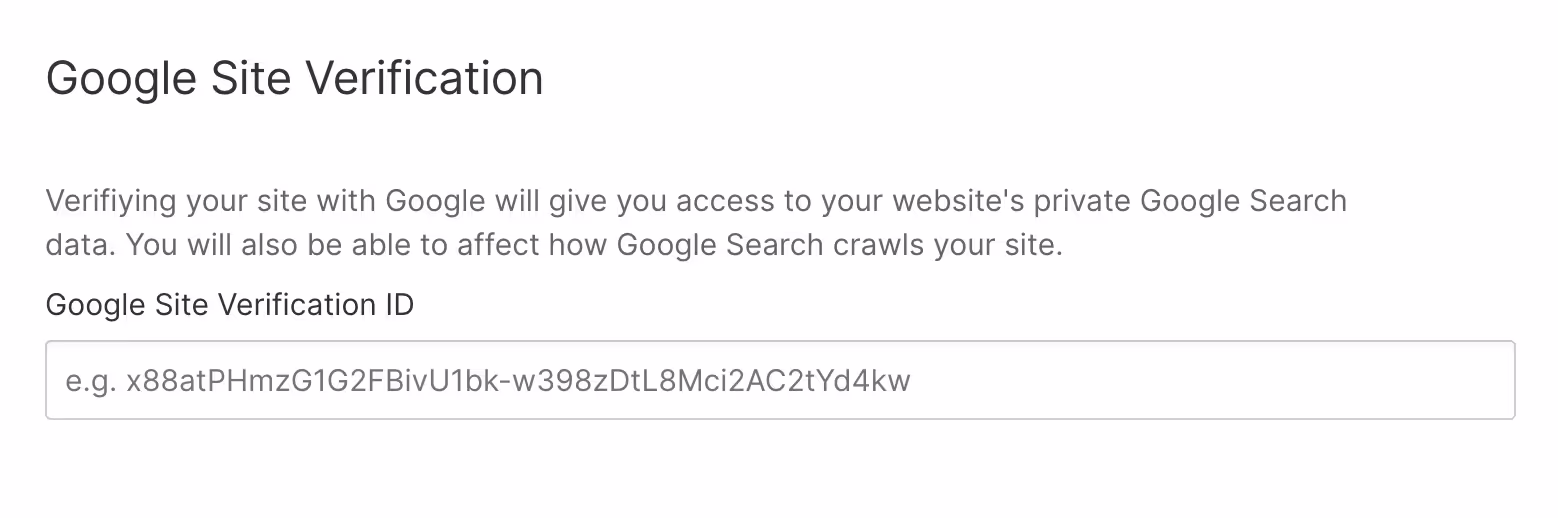
— Place your Google Site Verification code here.
— You will find this in your Google Search Console settings.
— Place your website URL in the Global Canonical Tag URL section.
— This needs to match your Default Domain.
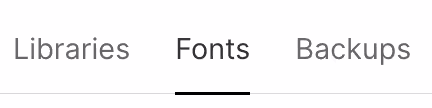
— Click on the Fonts tab.
— Upload your font files manually.
— Click here to learn how to download you Google fonts.
— Setting up your Fonts this way speeds up your website.


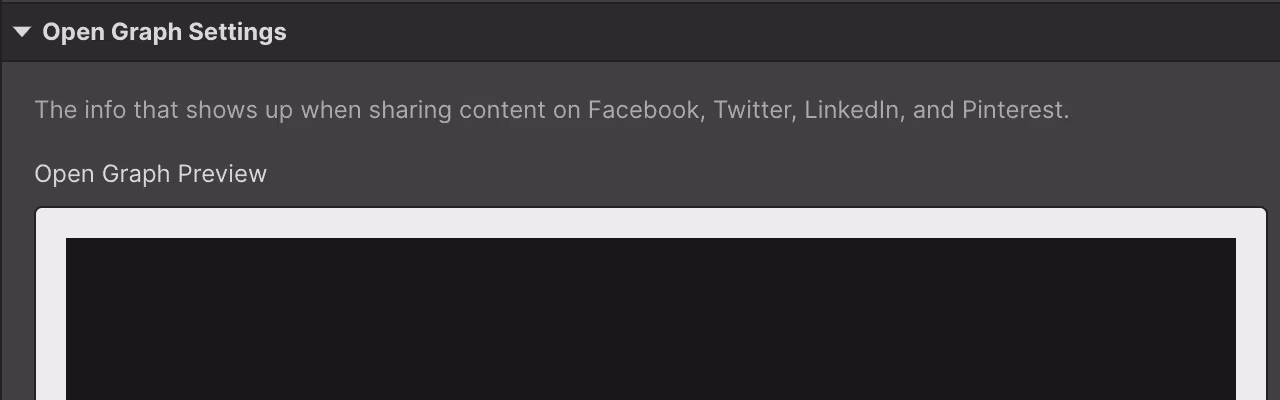
— Head to your page settings.
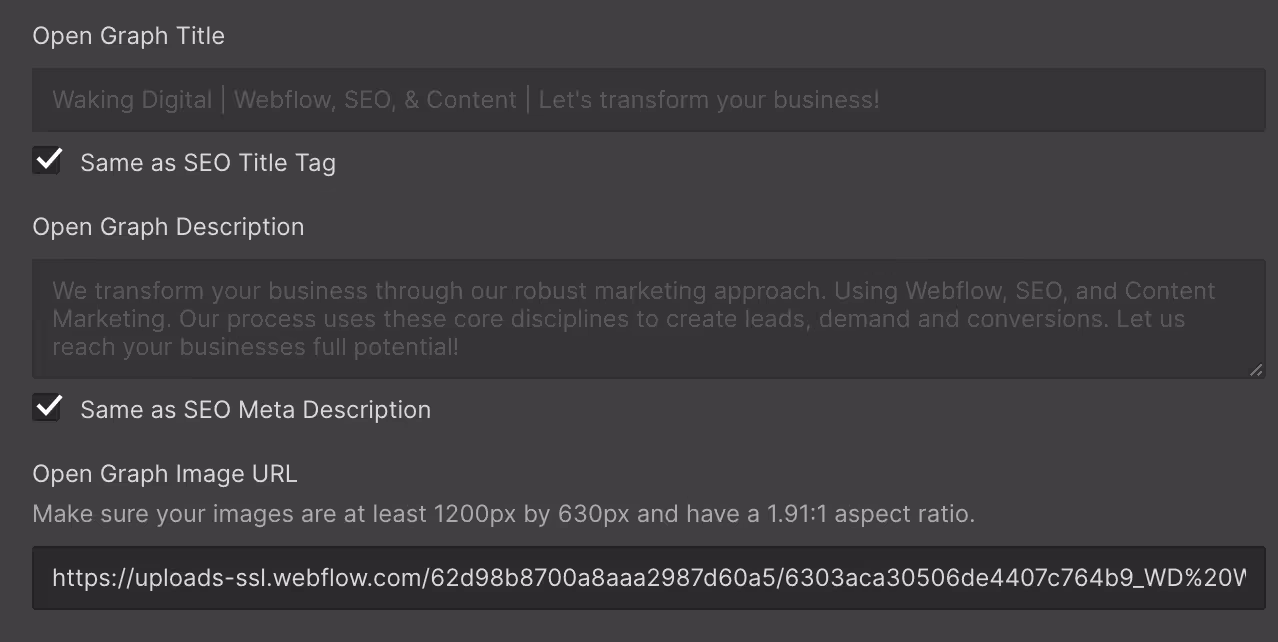
— Scroll down to the Open Graph settings.
— What are open graph settings? They show up when sharing your website link on social media.
— These are easily filled in by sharing your page title tag and meta description.
— However you may want to use different settings for your social media. There is not necessarily a right or wrong answer
— To get your image link, head to the asset panel.
— Hover over the image you want to use and click the gear (⚙) icon.
— Click on the link icon.
— Paste that link in your Open Graph URL.